For me, chocolate brownies are irresistible! I don’t even particularly care how you make them; if it’s a brownie, I’m in! I’ve tried so many recipes for these treats over the years I think I’ve made them almost every way possible. There’s endless possibilities for mixing chocolate, butter and cocoa in slightly different ratios that you almost can’t go wrong.
I have to give credit to my cousin though, who I think makes the best brownies in town. I don’t know what her secret is but I can never get mine quite the same, even if I follow her recipe exactly!

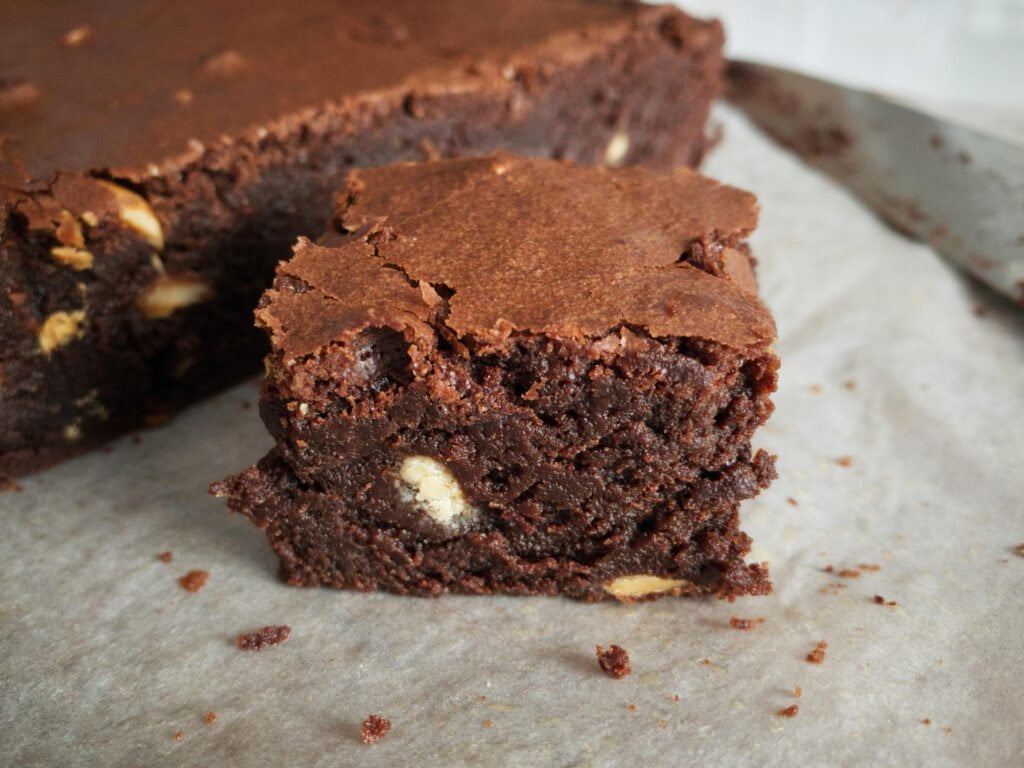
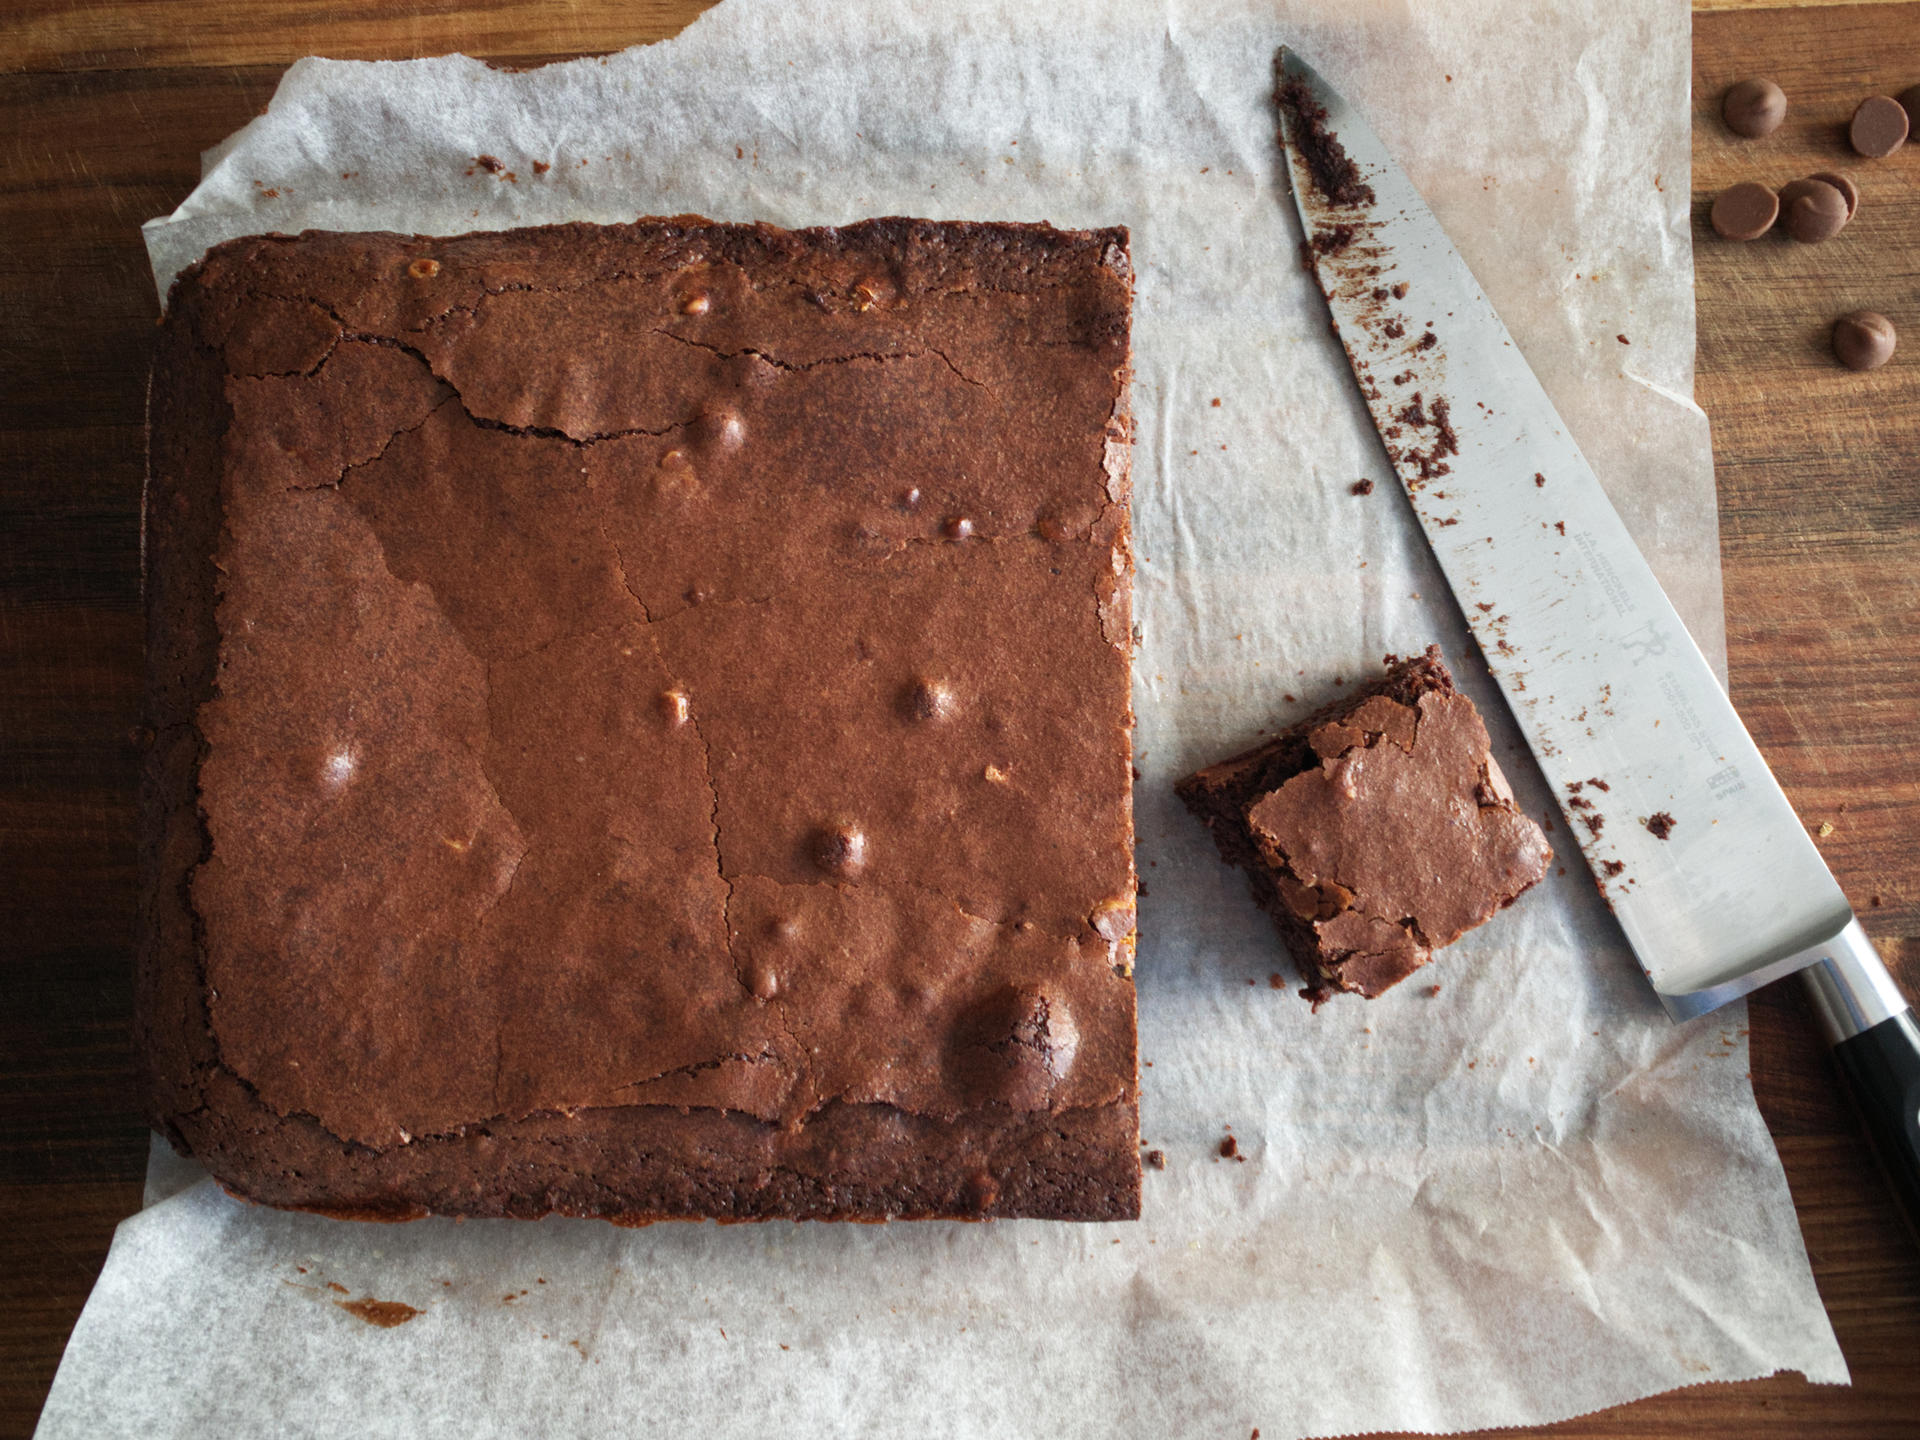
Although I’m not that fussy about how you make them, there are a few things that make good chocolate brownies stand out from the crowd. For starters, they need to be soft and fudgey in the centre; moist but not uncooked. It also needs a crunchy outer layer that’s a little bit chewy around the edges and crisp across the top.
The filling is where you can have a bit of fun. I like adding white choc chips to mine as they add a bit of colour variation… and I love white chocolate. But I also mix and match with milk or dark chips, depending on what’s in my pantry at the time.
To help balance out the sweetness you must add some nuts. You can add whatever nuts you like, but my personal preference skews towards hazelnuts. They are the perfect match for chocolate and they make the finished brownie taste amazing. Macadamias or pistachios work really well too, but they’ll also make your brownie more expensive! Don’t be deceived by the small quantity either as the nuts have a real impact on the final flavour. Have a play with different combinations to settle on what you like best.
If you’re up for more baking, check out my Raspberry and White Chocolate Muffins and Apple Pudding recipes.

Chocolate Brownies
Equipment
Ingredients
- 250 g dark chocolate, 45-50% cocoa
- 250 g unsalted butter
- 40 g plain flour
- 60 g cocoa powder, Cadbury Bourneville
- 350 g caster sugar
- 80 g unsalted nuts, roasted
- 50 g chocolate baking chips, white, milk or dark
- 4 eggs
- 1 tsp vanilla extract
- 1 pinch sea salt
Instructions
- Preheat oven to 170ºC. Grease the baking tin and line with baking paper, allowing it to extend out the sides on the long edges.
- Break up the dark chocolate into pieces and place into a small saucepan. Roughly chop the butter and place with the chocolate. Melt on a very low heat, stirring with a wooden spoon. Be careful not to allow any water or moisture in the pot with the chocolate and butter, otherwise the chocolate will split. Once melted, take off the heat and allow to cool slightly.
- Measure out the flour and cocoa powder, and sift into a large mixing bowl. Sift together a few times until the mixture is completely combined and no white flour remains. Add the caster sugar and stir until combined. Set aside.
- Measure out the nuts and chocolate bits onto a chopping board. If necessary, peel or shell the nuts then roughly chop and set aside.
- In a small bowl, whisk the eggs with a fork until thoroughly mixed, add the vanilla extract and a pinch of salt, and whisk until combined.
- To assemble, make a well in the centre of your dry mixture, and pour both the egg and the chocolate mixture into the well. Stir with a wooden spoon until combined, then add your nuts and chocolate bits and stir through. Pour into your prepared tin, using a silicone spatula to clean the bowl out and smooth the surface of the brownie.
- Bake for 45-50 minutes until there is a crust on top – it should be soft to touch but not wobbly if you wiggle the tin. Allow to cool in the tin, then lift out the brownie using the excess baking paper as handles. Chop into squares and serve with berries and/or ice cream.
Have you tried this recipe?
Let me know how it went! Leave a comment below, mention @sthsidekitchen and tag #sthsidekitchen on Instagram. You can also follow me @sthsidekitchen on Twitter and Pinterest.
📬 Don’t forget to subscribe to my newsletter to be one of the first to receive my latest recipes direct to your inbox.
Easy to make brownie recipe that yields great results every-time! Will be sure to impress!
Thanks, Matt! Glad you enjoyed it.