
Herbs are an important part of many recipes and drying herbs in your own home can be very rewarding. Not only is it satisfying to know you’re creating meals with something you’ve grown yourself, but it is considerably cheaper than purchasing herbs at the supermarket.
While fresh herbs are preferable to dried in many cases, there are times when you do need a dried variant so if you’re already growing them, why not try drying herbs yourself? It’s easy to do and you’ll never have to buy the awful powdery supermarket stuff again!
I grow all my herbs in pots and planter boxes so they never get too unwieldy. Even so, they still grow faster than I can use them so when it’s time for a trim, I like to cut the plants back and use the excess leaves to make my dried herbs.
Although it takes a few weeks for the herbs to dry out, they can be stored in the pantry for months so you’ll always have some on hand when you need them. Just use some old jam jars or other airtight containers for this purpose.
Let’s get drying herbs!
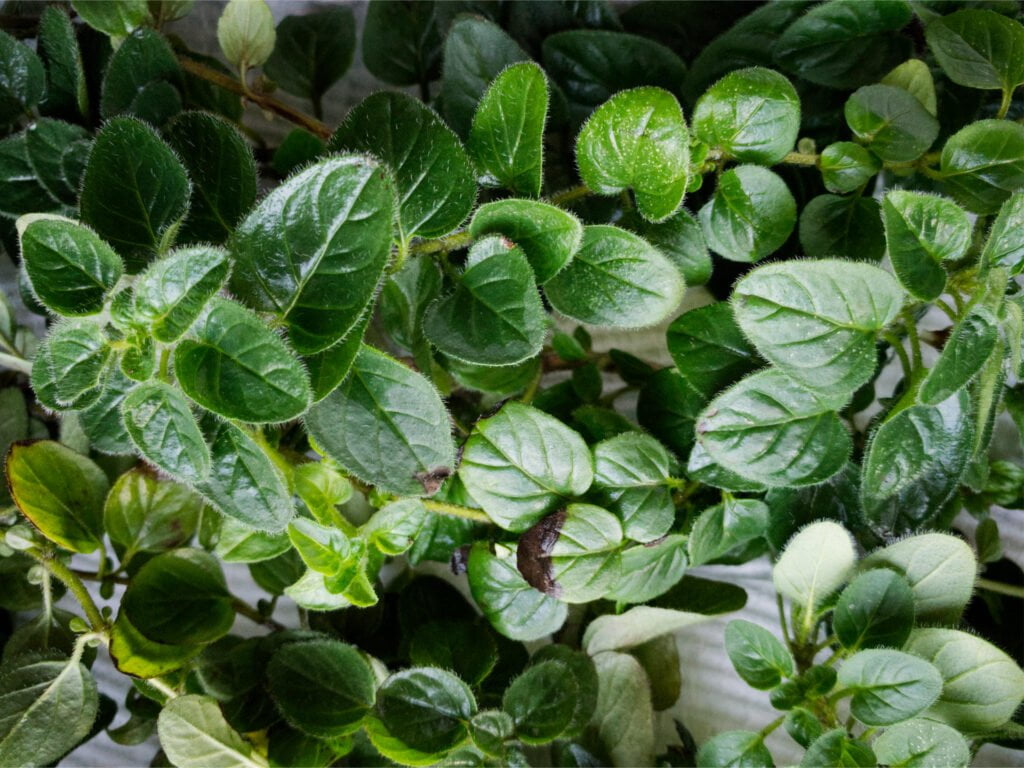
Today I’m using fresh oregano leaves but you can use this process to dry any herbs you like. Fresh rosemary, sage, parsley, thyme, mint, dill, etc. all work well using this method. The first step is to trim branches off the herb plant and thoroughly wash them.
Pick off any leaves that might be sunburnt or have any other issues. You want take the time to remove all the dirt and grit at this point because once the drying process has started, you won’t be able to later.
Once you’ve washed them, pat them dry using some paper towel or a tea towel. You don’t need to be too fussy but just remove any excess water so it’s not dripping wet.
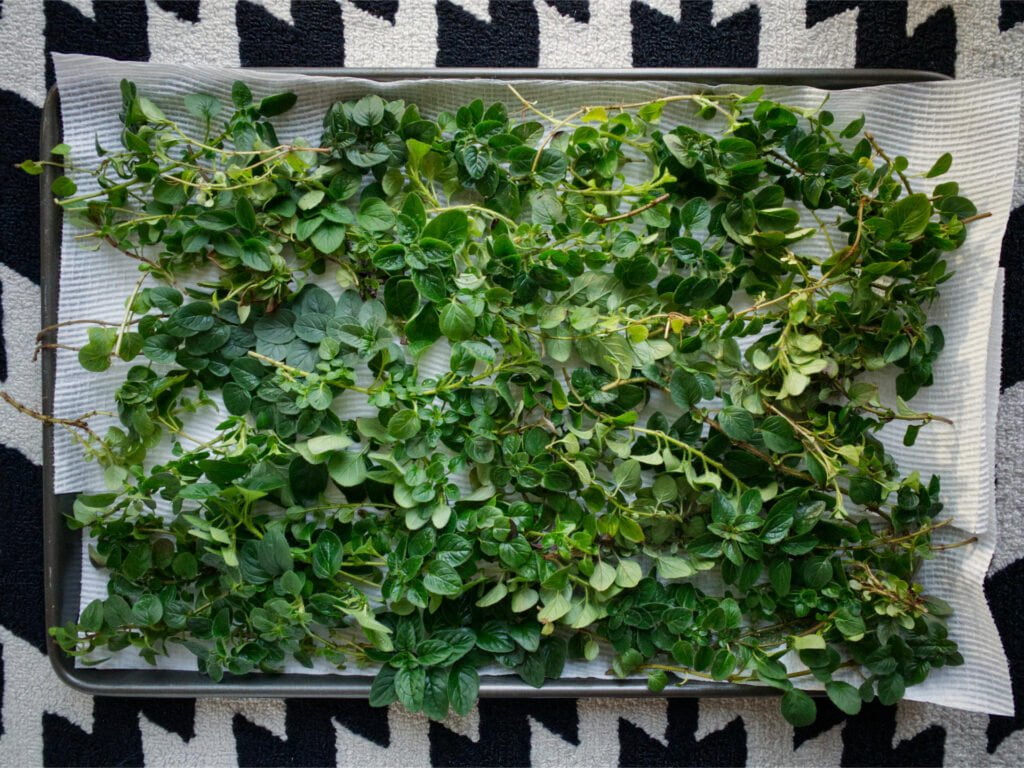
Now it’s time to lay the herbs out to dry. You can do this on any flat surface but I prefer to use a large oven tray. You need enough space to lay the herbs in a single layer so depending on how many herbs you’re drying, you may need multiple trays. Keep in mind the herbs will shrink as they dry. I like to start with multiple trays and then combine them into one in a couple of weeks time.
Firstly, cover your tray with a single layer of paper towel. Then arrange the herbs in a single layer on top of the paper. You can pack them quite densely but try not to stack them on top of each other. If you have too many leaves touching it will take longer to dry and result in clumps that stick together.
Once you have your tray complete, place it in a warm, dry place. I like to put mine on top of the microwave in the kitchen. That’s really all there is to it. In about 4-6 weeks your herbs should be completely dried out.
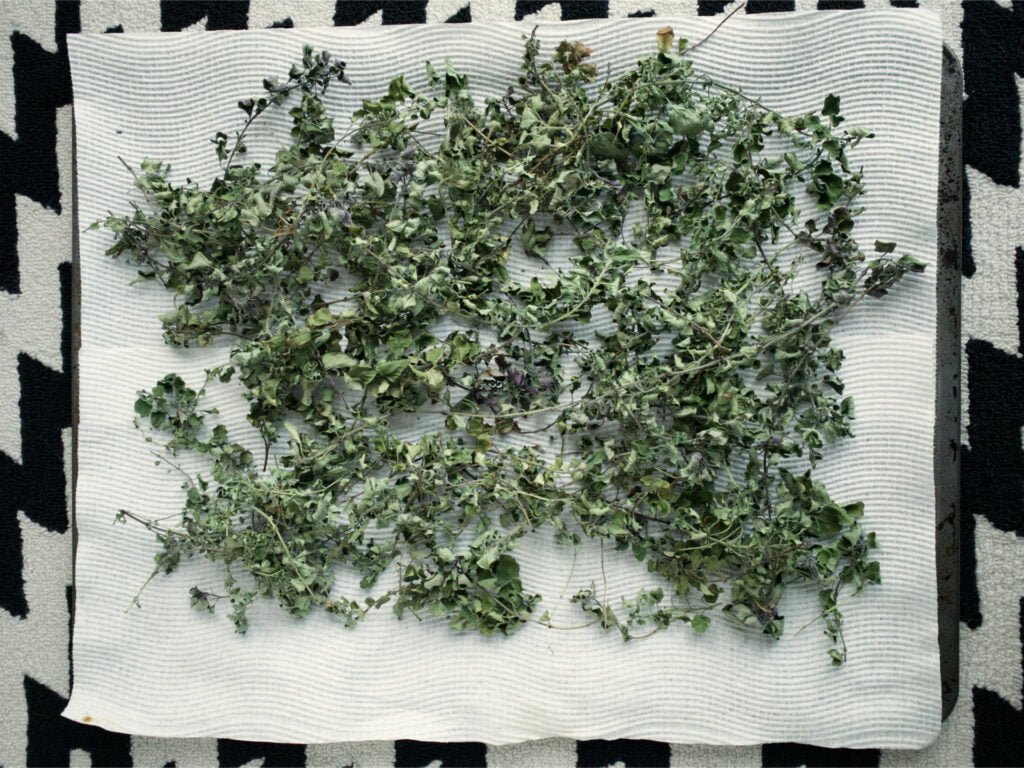
The dried herbs are now ready for storage! Simply separate the leaves from their branches and transfer them to your chosen jar or container. Make sure your storage container is clean and completely dry. This is the slowest step in the whole process but it’s not too difficult. I like to crush the leaves between my fingers as I put them into the jar so that they aren’t all large pieces.

There’s nothing left to do! With a whole jar of your own home-grown dried herbs the possibilities for new tasty creations are endless! Looking for fresh inspiration? I’ve got some recipes that use dried rosemary or dried thyme to get you started.